How to Pack Pictures and Paintings for Moving?
You can safely pack pictures and paintings for moving with the right supplies and techniques. Most artwork damage happens during transport, but proper packing prevents up to 99% of potential issues.
Essential Supplies for Packing Pictures and Paintings
Getting the right supplies is your first step to success. You don’t need fancy tools, but quality materials make all the difference.
Basic Packing Materials You’ll Need
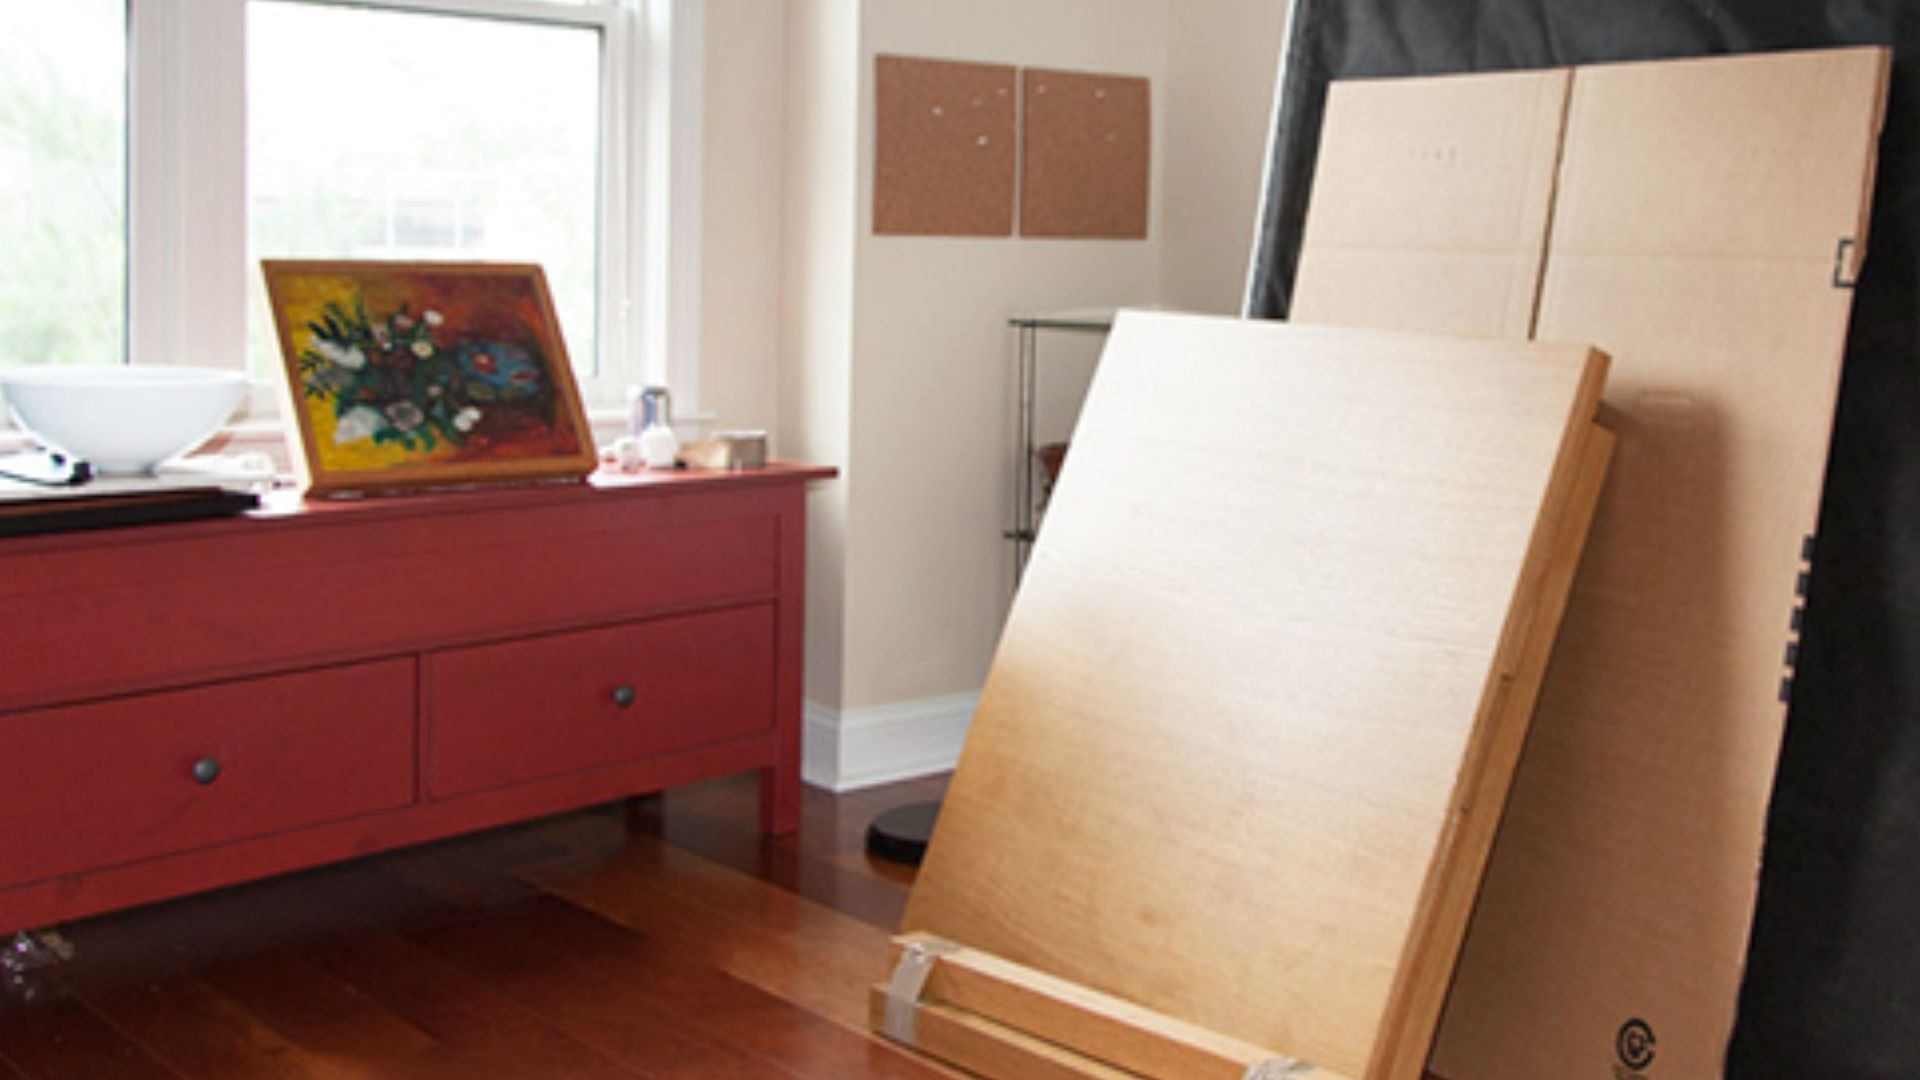
Picture boxes are your best friend. These flat, sturdy boxes are made just for artwork. specialty picture and mirror boxes can hold up to 65 pounds and fit frames up to 37" x 27". They cost about $3-8 each but save you from heartbreak later.
Bubble wrap protects against bumps and drops. Buy the kind with small bubbles – they work better than big ones. You’ll need enough to wrap each piece completely.
Packing paper fills gaps and adds cushioning. Don’t use newspaper because the ink can stain your artwork. Plain packing paper costs about $10-30 per pack.
Packing tape holds everything together. Get the strong, clear kind that won’t let go during your move.
Masking tape goes on glass surfaces without leaving sticky marks behind.
Special Protection Materials
Corner protectors save your frames from damage. You can buy cardboard ones or make them yourself from extra cardboard.
Plastic wrap protects the painted surface of unframed pieces. Kitchen plastic wrap works fine for this job.
Acid-free paper is best for valuable artwork. It prevents staining and chemical damage over time.
How to Pack Framed Pictures and Paintings
Framed artwork needs extra care because of the glass and frame corners. Follow these steps to keep everything safe.
Step 1: Prepare Your Workspace
Set up a clean, flat surface like a dining table or clean floor. Remove any hanging hardware that might scratch other items. Start by taping over sharp hanging brackets and loose mounting wires.
Step 2: Protect the Glass
If your picture has glass, make a big "X" with masking tape across the surface. This will help keep the glass from shattering everywhere if it breaks. Don’t skip this step – it’s like a seatbelt for your glass.
The tape also helps hold broken pieces together if something goes wrong during the move.
Step 3: Add Corner Protection
Place cardboard corner protectors on each corner of the frame. These take the hit instead of your frame if the box gets knocked around.
You can buy these or cut them from extra cardboard. Make sure they fit snugly but don’t put pressure on the artwork itself.
Step 4: Wrap with Bubble Wrap
When using bubble wrap, have the bubbles facing out for better impact absorption. Start wrapping from one side and work around the entire piece. Use plenty of tape to keep everything secure.
Make sure every part of the frame is covered. Pay extra attention to corners since they’re most likely to get damaged.
Step 5: Prepare the Box
Add crumpled packing paper to the bottom of your picture box. This creates a soft cushion for your wrapped artwork.
The goal is to create a nest that won’t let your picture move around inside the box.
Step 6: Pack and Seal
Gently slide your wrapped picture into the box. Add more packing material around the sides until nothing shifts when you shake the box lightly.
Mark the glass side of the box with special tape or a sharpie. Write "FRAGILE" and "THIS SIDE UP" clearly on the box.
Packing Canvas Paintings Without Frames
Canvas paintings need different care since they don’t have glass or rigid frames to protect them.
Protect the Paint Surface
Cover with acid-free paper: Once your paintings are clean and inspected, wrap them up in acid-free paper. This prevents the paint from sticking to other materials.
Never let bubble wrap touch painted surfaces directly. The texture can leave permanent marks on soft paint.
Rolling Technique for Large Canvases
For paintings too big for boxes, rolling might be your only option. If you want to roll a painted canvas or piece of original art, place it in-between two pieces of acid-free paper. Roll it gently, slide it into a cardboard tube and tape shut.
Roll with the paint facing outward to prevent cracking. Never fold artwork – this creates permanent creases.
Boxing Canvas Paintings
If you can, go for telescoping mirror or picture boxes designed for framed items like canvases. Even without frames, these boxes provide the best protection.
Add extra padding around unframed canvases since they’re more flexible and can bend during transport.
Packing Small Photos and Pictures
Small pictures are easier to pack but still need proper care to arrive undamaged.
Group Similar Sizes Together
Sort your small pictures by size before packing. Sometimes, you can stack small- and mid-sized canvases and pack them together in one box, provided each is individually protected by paper and bubble wrap.
Don’t pack different sizes together – they won’t fit properly and might damage each other.
Use the Sandwich Method
Wrap each small picture individually in packing paper. Then create "sandwiches" by placing flat cardboard between wrapped pictures before putting them in the box.
This prevents them from rubbing against each other during transport.
Fill Empty Spaces
When wrapping and packing small framed items and mirrors together, place them into the box vertically, not flat. Standing them up like books is much safer than stacking them.
Fill any remaining space with packing paper to prevent movement.
Special Considerations for Valuable Artwork
Expensive or irreplaceable artwork deserves extra protection and professional handling.
When to Hire Professionals
85% of art insurance claims come from transit losses, making professional packing worth the investment for valuable pieces. Consider professional help if:
- Your artwork is worth more than $5,000
- You have antique or fragile pieces
- The painting is very large or awkwardly shaped
- You’re moving long-distance
Professional art movers have special crates and climate-controlled trucks that protect against temperature and humidity changes.
Insurance Considerations
Moving companies typically only offer basic liability coverage at $0.60 per pound, which isn’t enough for valuable artwork. A 20-pound painting would only be covered for $12 under basic coverage.
Consider purchasing additional insurance for valuable pieces. Some homeowner’s policies cover up to 10% of your personal property value during moves.
Documentation Before Moving
Take detailed photos of every piece before packing. Include close-ups of any existing damage or unique features. This documentation helps with insurance claims if something goes wrong.
Keep receipts, appraisals, and certificates of authenticity in a separate box that travels with you, not in the moving truck.
Common Mistakes That Damage Artwork
Learning from others’ mistakes can save your artwork from disaster.
Using Newspaper for Wrapping
While newspaper is great for padding, don’t use it to wrap your pictures as the ink might stain them. The ink transfer is permanent and can ruin your artwork.
Always use clean packing paper that touches your artwork directly.
Packing Multiple Items Together Without Protection
If you have multiple large framed items, pack them separately so they don’t damage each other. Even with wrapping, frames can crack under pressure from other heavy items.
Give each piece its own space and protection.
Laying Boxes Flat During Transport
When transporting artwork, keep boxed paintings upright, not lying flat. Laying boxes flat puts all the weight on the glass or canvas surface.
Always transport picture boxes standing up like you’d carry them by hand.
Ignoring Temperature Changes
Extreme temperature changes can crack paint, warp canvases, or fog glass. Don’t leave packed artwork in hot cars or cold garages for extended periods.
If possible, transport artwork in climate-controlled vehicles and unpack it quickly at your destination.
Loading and Transport Tips
How you handle packed artwork during the actual move is just as important as how you pack it.
Proper Loading Techniques
Stand picture and mirror boxes upright when loading. Stacking them on top of each other could crack the glass. Lean them against the truck wall with padding between the boxes and wall.
Never put heavy boxes on top of artwork boxes, even if they’re properly packed.
Weight Distribution
If you pack several small or medium items in one box, don’t make it any heavier than 40 to 50 pounds. Heavy boxes are more likely to be dropped or handled roughly.
Multiple lighter boxes are safer than one heavy box that’s hard to carry.
Securing During Transport
Use moving straps or rope to prevent boxes from sliding around in the truck. Artwork boxes should stay in the same position throughout the entire move.
Consider ourlocal movers service if you want professionals to handle the transport safely.
Unpacking at Your New Home
The moving process isn’t over until your artwork is safely on the walls of your new home.
Climate Adjustment
Let your artwork adjust to the new environment before unpacking. If you’ve moved between different climates, wait a few hours before opening boxes.
This prevents condensation from forming on glass or canvases when temperature differences are extreme.
Careful Unpacking
Remove packing materials slowly and carefully. Save the original packing in case you need to move again soon.
Check each piece for damage immediately. Take photos of any problems for insurance purposes.
Immediate Damage Assessment
If you find damage, document it right away with photos. Contact your moving company and insurance provider within 24 hours of discovery.
Don’t try to fix damage yourself – this might make insurance claims more difficult.
Cost-Effective Packing Solutions
You don’t need to spend a fortune to pack artwork safely, but you shouldn’t cut corners on essential protection.
Budget-Friendly Alternatives
Free boxes: Check with local frame shops, art galleries, or electronics stores for free picture boxes. They often have extras they’re happy to give away.
DIY corner protectors: Cut corner guards from extra cardboard instead of buying them. They work just as well as store-bought versions.
Kitchen supplies: Plastic wrap from your kitchen works fine for protecting painted surfaces on unframed pieces.
When to Invest in Quality Materials
Don’t cheap out on bubble wrap or packing tape. Quality packing materials are expensive, and you are likely to use far more packing materials than you planned.
The few extra dollars spent on good materials can save thousands in damaged artwork.
Professional Packing Service Costs
The cost of packing a 1-bedroom apartment by professional packers will be about $300-$450 for packing labor alone. For valuable artwork, this might be worth the investment.
Ourpacking services team specializes in protecting fragile items during moves.
Seasonal Moving Considerations
Different seasons bring unique challenges for moving artwork safely.
Summer Moving Challenges
Hot temperatures can soften paint and adhesives. Never leave packed artwork in hot vehicles or direct sunlight.
Schedule moves for early morning or late evening when temperatures are cooler.
Winter Weather Precautions
Cold temperatures make materials brittle and more likely to crack. Warm up your car before loading artwork, and don’t rush the process.
Sudden temperature changes from cold outdoor air to warm indoor spaces can cause condensation problems.
Humidity Concerns
High humidity can cause mold growth on canvas or paper artworks. Low humidity can make materials brittle and prone to cracking.
Use moisture absorbers in boxes if you’re moving during very humid periods.
Final Thoughts
Packing pictures and paintings for moving doesn’t have to be scary when you know the right techniques. Start with quality supplies, take your time with each piece, and don’t rush the process. Remember that most artwork damage happens because people try to save time or money on packing materials.
The investment in proper packing supplies and techniques is tiny compared to replacing damaged artwork. Whether you’re moving family photos or valuable paintings, following these steps will help ensure your treasured pieces arrive safely at your new home.
If you’re planning a move in the Edmonton area and want professional help with your artwork and other belongings, contact Last Stop Moving for afree moving estimate. Our experienced team knows how to handle fragile items with the care they deserve.